I, like many other I’m sure, have plenty of old infrared remotes laying around from TVs past. They were just collecting dust, but what if they could be useful again? Well thanks to the Flirc USB, a small USB IR receiver, those old remotes can be used to control anything your Home Assistant Box can control.
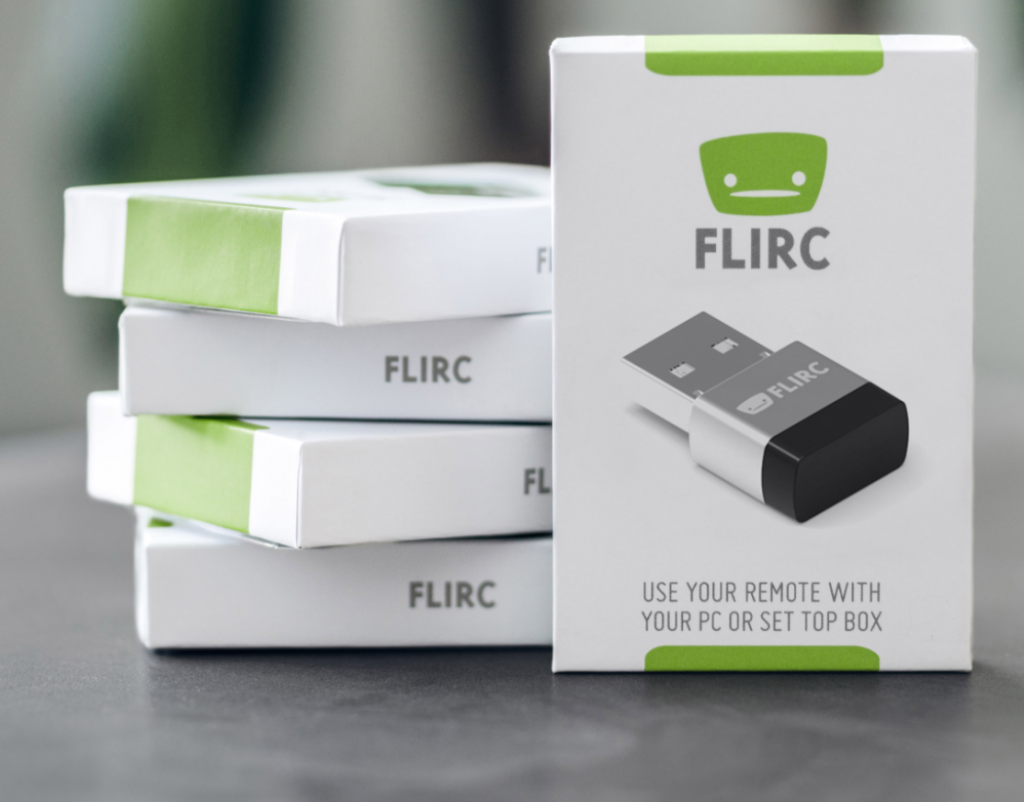

The amazing thing about this device is its simplicity. First, you plug it into a PC, Mac, or Linux machine. Then download the software. The software lets you assign buttons to a virtual keyboard by selecting individual keys and firing your remote at it. Those codes are saved on the device itself, so it can be moved to your Home Assistant Operating System box and will be seen as just an ordinary keyboard. Except, instead of interacting by physically pressing keys, the key is “pressed” when it detects the corresponding infrared frequency.
Set Up
So let’s walk through how this would be set up.
First, download the software from the website and plug in the USB device.
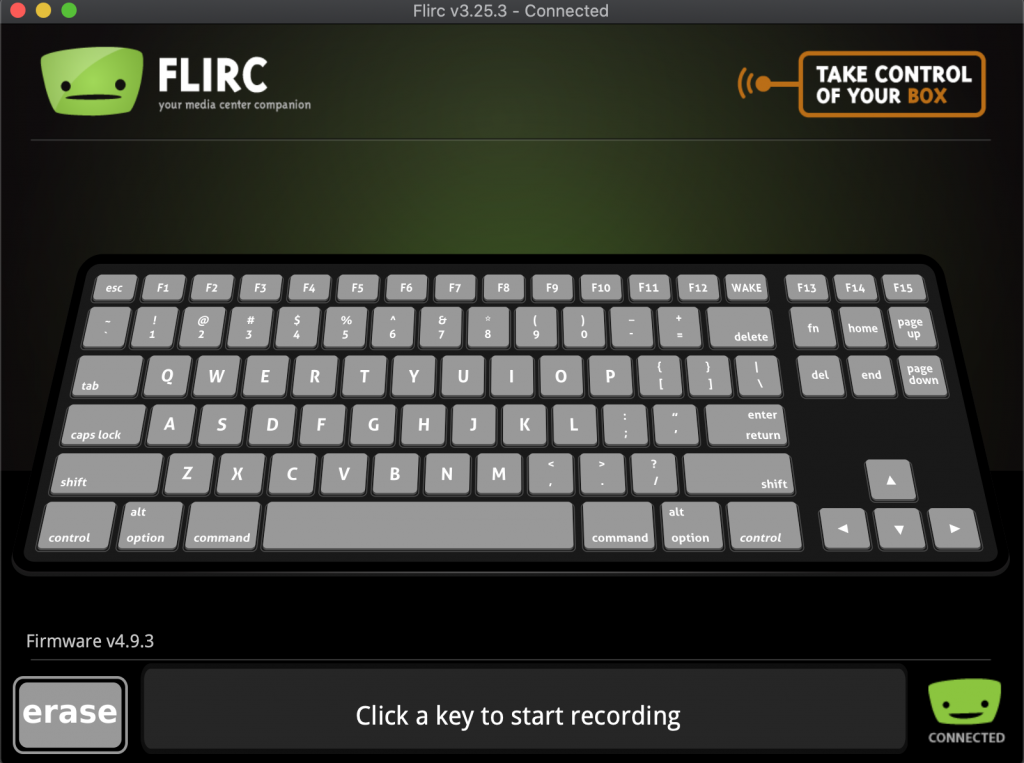
There are a number of virtual keyboard or remotes you can select. I think selecting a standard keyboard makes the most sense to maximize the number of programmable keys.
Next, click on a key, and it will ask you to press the corresponding button on the remote. You do not need to remember which buttons are mapped to which keys because they will later be identified in Home Assistant by watching the event log.
Once you have recorded all the keys you want, you unplug the device from your computer and plug it into your Home Assistant box.
Home Assistant
Now the Flirc can be set up in Home Assistant using the Keyboard Remote integration. First, confirm it is recognized by Home Assistant by looking in the Supervisor’s Hardware tab.
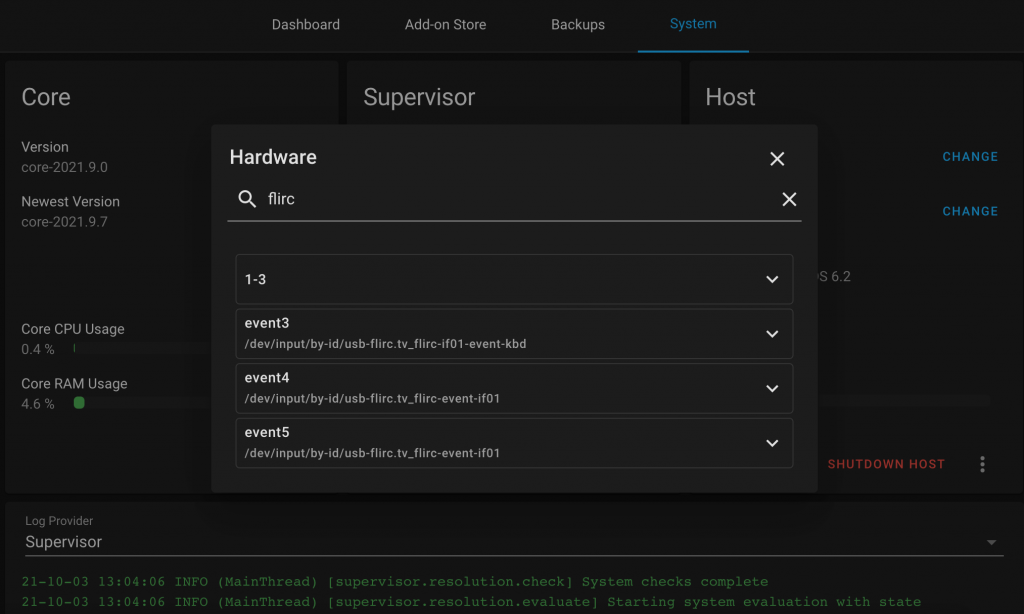
Once you see it’s recognized, add the following to your configuration.yaml and restart:
keyboard_remote:
  - device_name: 'flirc.tv flirc Keyboard'
    type: 'key_down'
Creating Automations:
Now you can make automations capable of anything your Home Assistant can do from the press of a button. To do so, you need to obtain the “key_code” for each programmed button. Go to the Developer Tools and then the Events tab. Listen for events from “keyboard_remote_command_received” and press the individual buttons. For example:
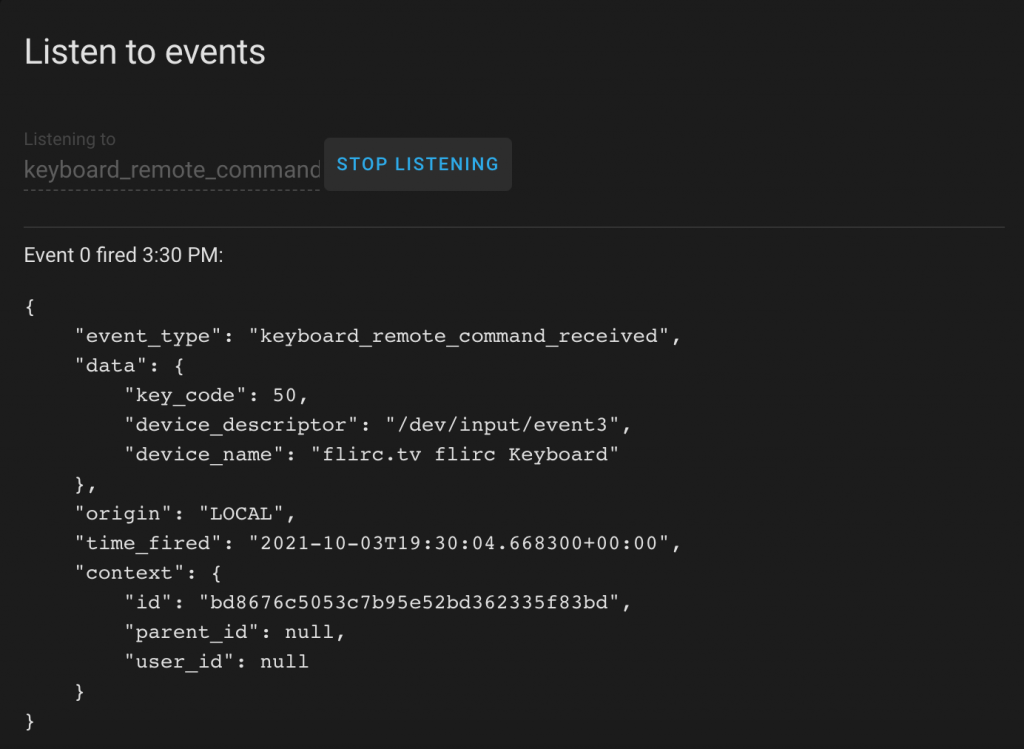
So now I know that my remote’s “Netflix” button is mapped to keycode 50.
A corresponding automation trigger would look like this:
platform: event
event_type: keyboard_remote_command_received
event_data:
  device_name: flirc.tv flirc Keyboard
  key_code: 50
And from there it can do whatever you want- turn off lights, lock doors, turn on music, or even turn on your TV using your old remote!
Logitech Harmony
Now, I happen to be a big fan of the Harmony Remote and its Home Assistant integration. As far as I know, the integration is one way, meaning that you can fire commands through the Harmony but Home Assistant cannot receive commands. If instead of an old remote you wanted to use the Harmony, you could simply set up some dummy device and make sure the the Harmony Hub or an IR mini blaster will have line of sight to the Flirc Receiver. Set up the device in the same way and then you can integrate Home Assistant actions into your Harmony Hub Activity.
BONUS – MagiQuest Wands
Some of you may be familiar with MagiQuest. It is an interactive live role playing game at many tourist attractions. My family and I, specifically, encountered it at Great Wolf Lodge. To participate, you purchase (expensive) customized wands and can run around the hotel or tourist destination waving it at different objects.
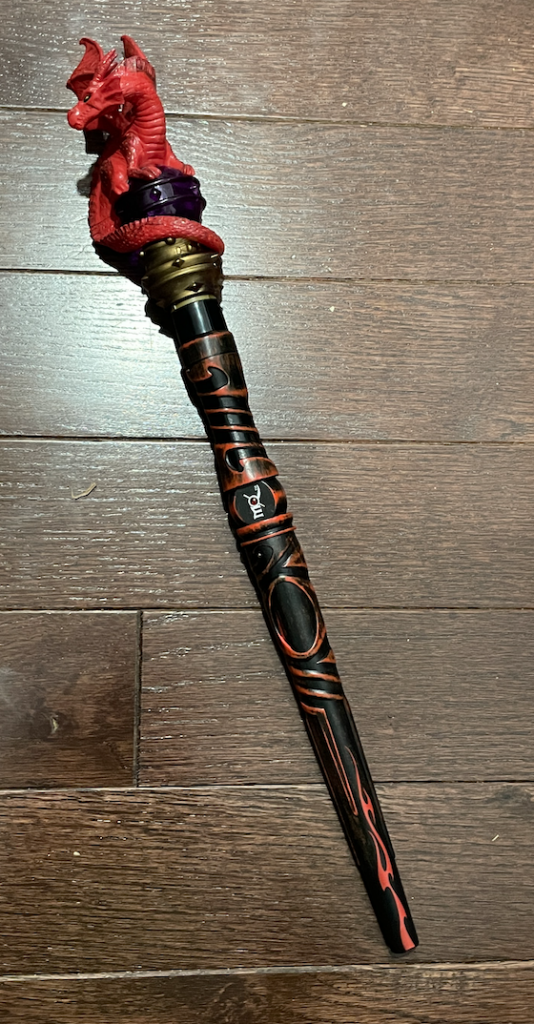
Well the wand is actually just an infrared transmitter which is fired when the wand is flicked. Instead of bringing them home and having life-less souvenirs, you can integrate them into Home Assistant using the Flirc!
Conclusion
I hope this write-up was helpful. For only $19.95 on Amazon, I definitely think it is a good device at a good price with a lot of possibility. Please let me know if you have any questions.
Affiliate Link
FLIRC USB Universal Remote Control Receiver
Non-Affiliate Link


hey there, i’m on the last step at “A corresponding automation trigger would look like this:”
where do i put the code in? Cause in web UI it doesnt coe out that well when trying to configure it. do i have to edit a certain yaml file for it?
Hey, good question. You do not need to edit any yaml files. When you are in the automation UI, you can make a new action and leave it as the default device options or whatever. Then on that action block, in the top right corner, there are three dots. If you click on it, you can select “Edit in YAML”. Then that action block will turn into a text box where you can essentially paste my code example there and edit as needed. Then you can go back to the three dot menu if you want and change it back to UI edit.
Let me know if you have any other questions. Hopefully that helps!
thx for the advice, havnt thought about it yet. tried it but wont work/save the automation trigger. when i try to use the configured automation with the mapped button press like mute to turn a certain light on it wont work.
when i re enter the configuration of the automation it lists the event in normal + yaml (partitional)